Small But Mighty Homelab: DeskPi 12U Running 20+ Services
You don’t need a server room to run a powerful homelab. With just a few host machines - a couple of Raspberry Pis, a mini PC, and a Jetson - you can run 20+ services: media streaming, photo backup, password management, smart home automation, monitoring, and even a local AI voice assistant. All in a compact, elegant setup that fits in a corner of a tiny apartment.
This post walks through my homelab architecture - how I got here, how it’s organized, and what it can do.
Contents:
- Evolution
- Architecture Overview
- Physical Foundation
- Network Infrastructure
- Compute Hosts & Devices
- Services & Applications
- Cost Breakdown
- Lessons Learned
Living in a 10 sqm studio apartment in Tokyo, space is extremely limited. Every square centimeter counts.
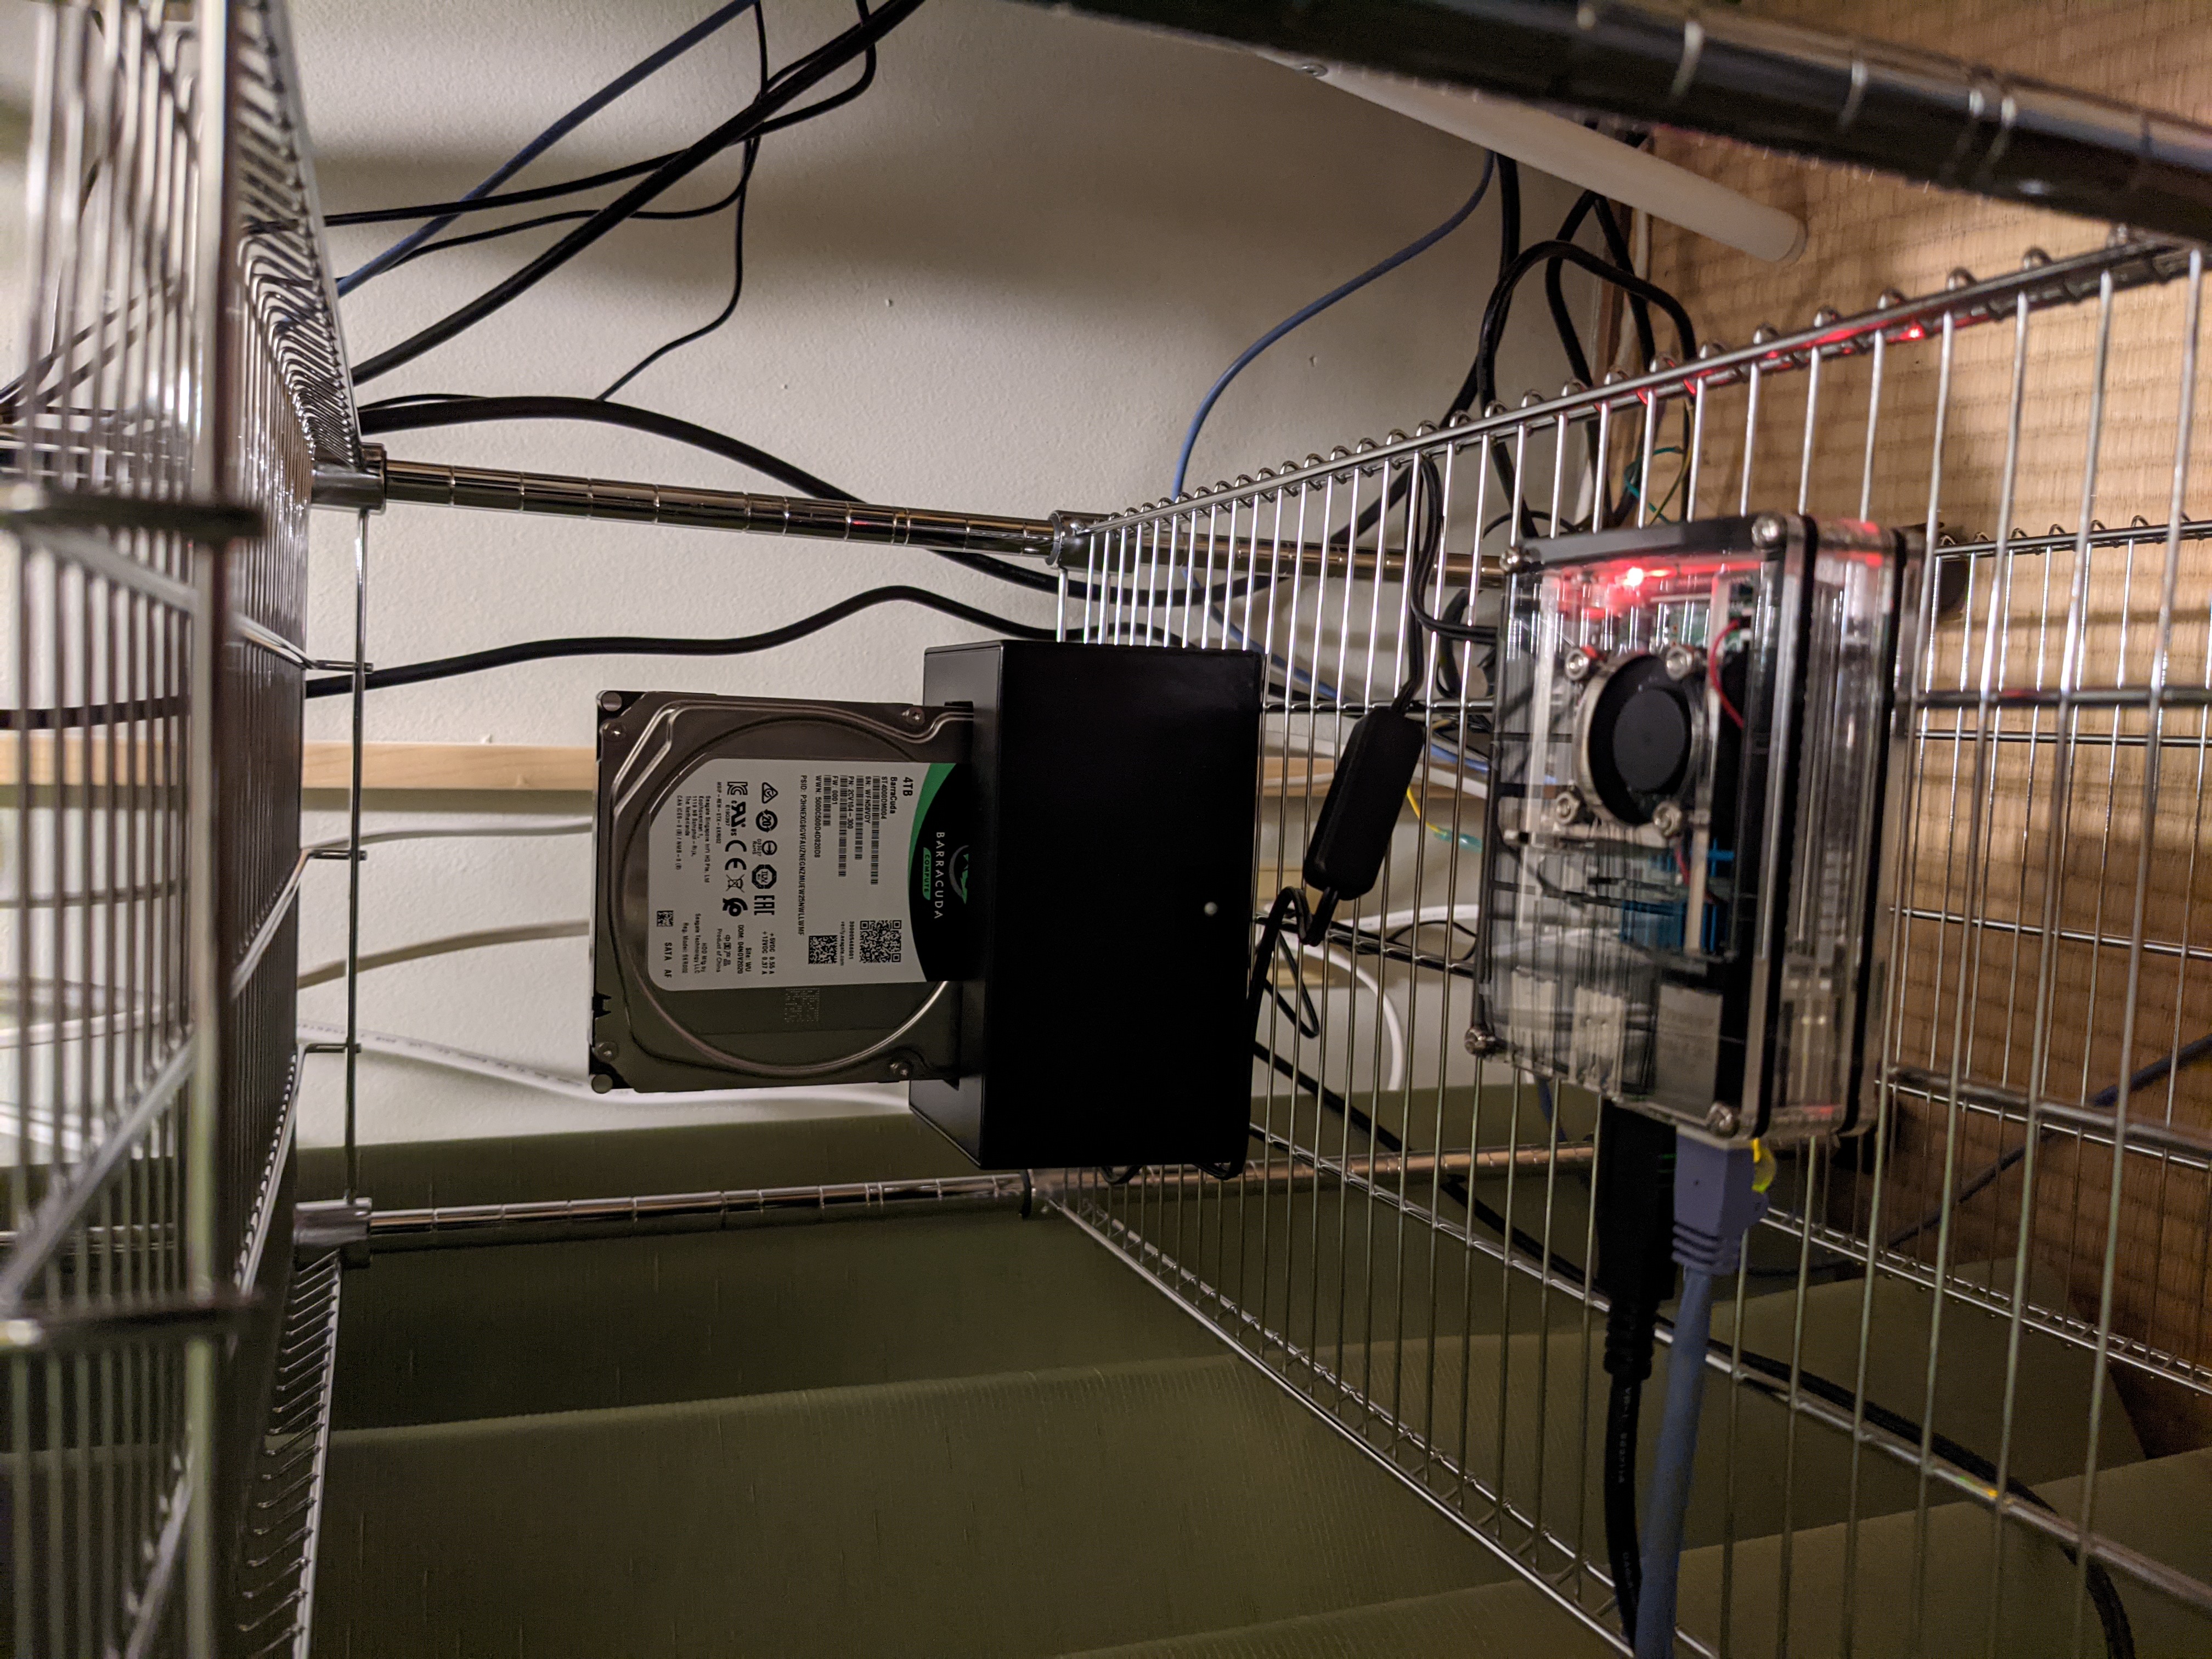
My homelab started simple: a metal rack with a Raspberry Pi 4 and a hard disk running Samba NAS. As my needs grew, so did the setup.
I moved to a TV rack as services expanded - Home Assistant, monitoring, Docker services. It worked, but:
- Cluttered mess of cables
- Ate up precious floor space
- Collected dust like crazy

The solution? Graduating to a DeskPi 12U rack - vertical consolidation for small spaces, cleaner look, and better dust management.
graph TB
    subgraph Internet
        WAN[WAN]
    end

    subgraph Remote Access
        Mobile[Mobile Devices<br/>via WireGuard VPN]
    end

    subgraph Network Layer
        Router[OpenWrt ONE Router<br/>+ WireGuard VPN<br/>+ Nginx Reverse Proxy]
        Switch[KP-9000 PoE Switch]
    end

    subgraph Compute Layer
        Pi4[Raspberry Pi 4<br/>Home Assistant]
        Pi5[Raspberry Pi 5<br/>Monitoring Stack]
        N305[Intel N305<br/>Proxmox + LXC]
        Jetson[Jetson Nano Orin<br/>Voice Assistant]
    end

    subgraph Smart Home
        Hue[Philips Hue Bridge]
        SwitchBot[SwitchBot Hub]
    end

    subgraph Storage
        NAS[(Samba NAS)]
    end

    WAN --> Router
    Mobile --> Router
    Router --> Switch
    Switch -->|PoE| Pi4
    Switch -->|PoE| Pi5
    Switch --> N305
    Switch --> Jetson
    Switch --> Hue
    Switch --> SwitchBot

    N305 --> NAS

    Pi4 --> Hue
    Pi4 --> SwitchBot
    Jetson --> Pi4
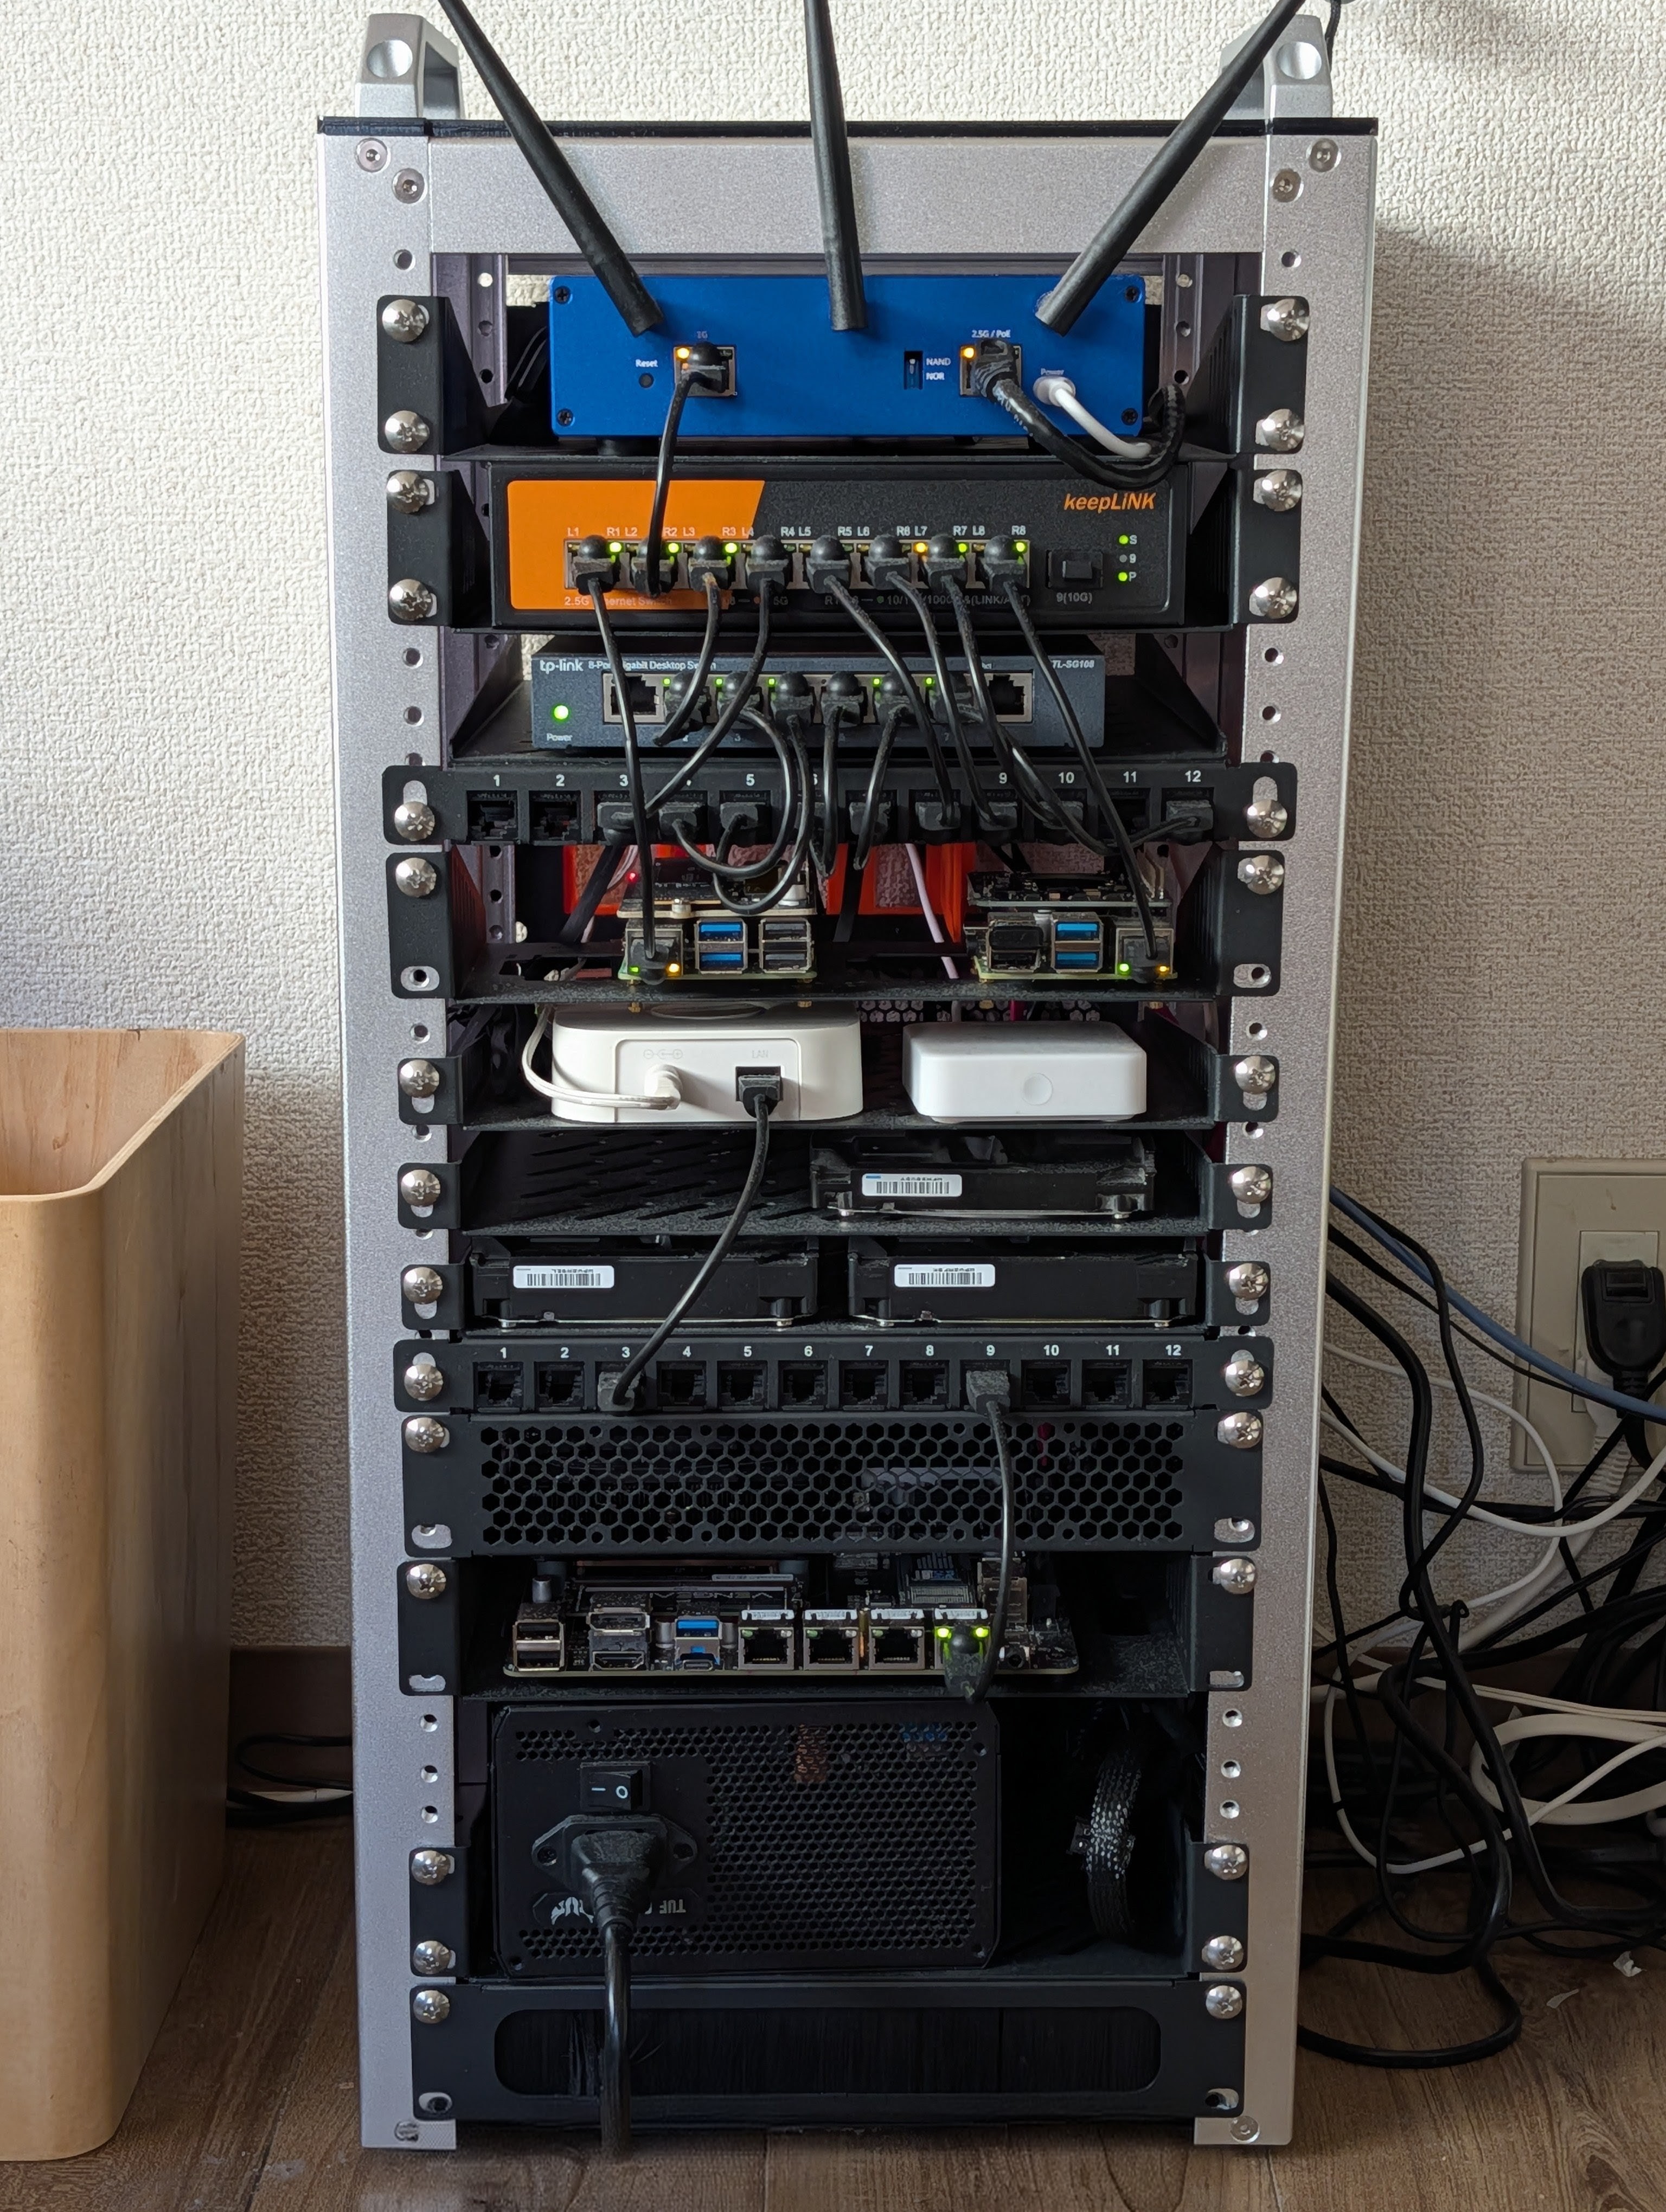
The DeskPi 12U rack is the physical foundation. It’s visually pleasant and prevents dust buildup - a huge improvement over the open TV rack.
Power comes from a 650W TUF Gaming power supply - repurposed from my old main PC. Plenty of headroom for the entire rack.
For cooling, I installed 2x 12cm fans at the bottom of the rack, providing airflow from bottom to top. This keeps everything running cool without being too noisy.
The network starts with an OpenWrt ONE router - an open-source, hacker-friendly device that handles:
- Routing, firewall, and DHCP
- Nginx reverse proxy for local service names (e.g.,
jellyfin.localinstead of192.168.1.50:8096) - WireGuard VPN for secure remote access via port forwarding
The PoE managed switch serves dual purpose:
- Network switching for all devices in the rack
- PoE power delivery to both Raspberry Pis - eliminating two power adapters and reducing cable clutter
- Role: Smart home automation
- Powered via PoE HAT - one less cable to manage
- Role: Monitoring and observability
- Powered via PoE HAT
- Role: Main Docker host (Proxmox + LXC container)
- Intel i3-N305 (12th gen)
- 4x Intel i226-V 2.5G NICs
- 2x NVMe slots, 6x SATA 3.0 bays
- DDR5 RAM (32GB), PCIe x1, Type-C
- 1TB NVMe + 2x 8TB Seagate IronWolf (ZFS mirror)
Why the N305 over other options?
I considered Synology/QNAP NAS devices, used enterprise mini PCs, and Intel NUCs. The N305 NAS board won because:
- 6 SATA bays - room to expand storage without external enclosures
- 4x 2.5G NICs - network flexibility for VLANs or link aggregation
- Intel Quick Sync - hardware transcoding for Jellyfin without GPU
- x86 architecture - better Docker compatibility than ARM alternatives
- Low power - efficient enough to run 24/7
- DDR5 + NVMe - modern and fast for running 20+ containers
- Role: Local voice assistant
- Philips Hue bridge - Zigbee lighting
- SwitchBot hub - SwitchBot devices integration
- Home Assistant - controlling Hue lights, SwitchBot devices, and automations
- Grafana - dashboards and visualization
- Prometheus - metrics collection
- Alertmanager - alert routing and notifications
- Uptime Kuma - service uptime monitoring
- Jellyfin - media streaming with Intel Quick Sync hardware transcoding
- Komga - comics/manga reader
- Radarr, Sonarr, Prowlarr - media automation (behind Gluetun VPN)
- qBittorrent - downloads (behind VPN)
- Mylar + Kapowarr - comics management
- Samba NAS - network file sharing
- Filebrowser - web UI for downloads
- JDownloader2 - direct downloads
- Syncthing - cross-device file sync
- Vaultwarden - password manager (Bitwarden-compatible)
- Immich - photo backup with ML-powered search
- Homer - dashboard
- n8n - workflow automation
- LanguageTool - grammar checker
- Local voice control via Home Assistant - no cloud required (see my previous post)
- Nginx Reverse Proxy - local service names for easy access, no more remembering IP:port combinations
- WireGuard VPN - secure remote access to the homelab when away from home
Here’s roughly what this setup costs:
| Component | Approx. Price |
|---|---|
| DeskPi RackMate T2 12U | ~$100-150 |
| Raspberry Pi 4 4GB | ~$60 |
| Raspberry Pi 5 8GB | ~$95 |
| PoE+ HAT x2 | ~$50 |
| Intel N305 NAS motherboard (bare board) | ~$200-300 |
| DDR5 RAM (16-32GB) | ~$120-400 |
| NVMe SSD (1TB) | ~$70-150 |
| NAS HDD (8TB) | ~$150-200 each |
| Jetson Orin Nano Super | ~$249 |
| OpenWrt ONE router | ~$89 |
| KeepLink PoE managed switch | ~$100-150 |
| Misc (cables, fans, accessories) | ~$50-100 |
| Total (excl. RAM/storage) | ~$1,000-1,250 |
RAM and storage costs depend on your capacity needs. Due to AI infrastructure demand, DDR5 prices are elevated.
Prices as of January 2026 - check current listings as memory prices are volatile.
Not cheap, but this replaces multiple cloud subscriptions and gives you full control over your data. The N305 and Jetson are the priciest components - you could start smaller with just the Pis and add more later.
Building this setup taught me a few things:
- Go vertical with an enclosed rack - Saves floor space and keeps dust out. The DeskPi 12U rack was a game-changer compared to the open TV rack.
- Use PoE where possible - Fewer power adapters, fewer cables, cleaner setup. The managed switch powers both Pis.
- Repurpose what you have - The 650W TUF Gaming PSU from my old PC now powers the N305 PC.
- Hardware transcoding matters - The N305’s Intel Quick Sync handles Jellyfin effortlessly. Choose your hardware with your workloads in mind.
- Take your time - Perfecting the setup took a few days. The DeskPi’s flexibility with parts and accessories makes it worth the effort.
The rack assembly isn’t more complex than building a PC - just more of them. If you can do one, you can do this.
This post covered the architecture - the what and why. In upcoming posts, I’ll dive into the how: step-by-step guides for setting up each service, from Jellyfin and the *arr stack to Immich and Vaultwarden.
Stay tuned.